Wildcard week//
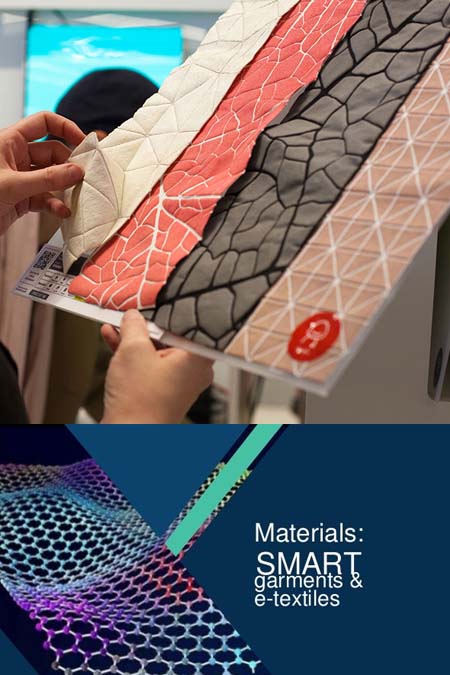
Smart textiles.
For the wildcard week i chose to experiment with different kind of smart textiles and how i can make them create them in the fab lab by using as many mashines and materials i could. This week actually, is the introduction of my final project since e-textiles is the basic cell of my research for fab academy education.
3d printing a textile/Sample
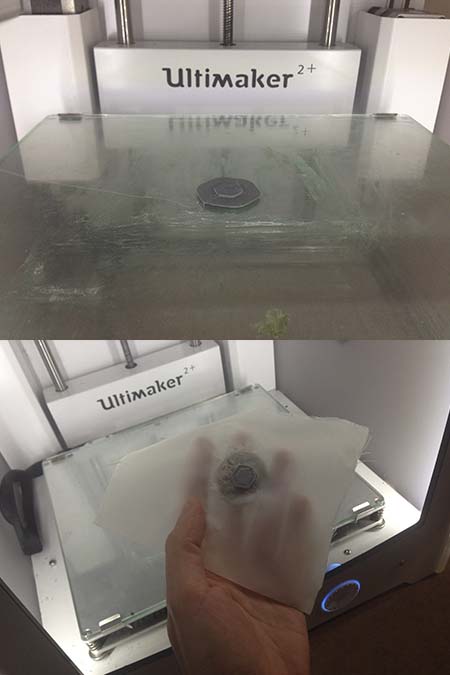
The first thing that i wanted to work on was to 3d print on a textile. In this first trial i used a very light (almost opaque) white cotton fabric and the usual PLA material. I sliced a small exagon according to the proposing settings of the PLA material and after 3 layers i placed my fabric on the printed exagon. Of course i firste paused the printing procedure and i resumed as soon as i had placed my fabric. The printer continued to print and in the end i had a textile with a 3d printed part attached to it. The result was not so strong and stable and in the second trial i opened some holes in the fabric. The outcome was much better.
3d printing a textile
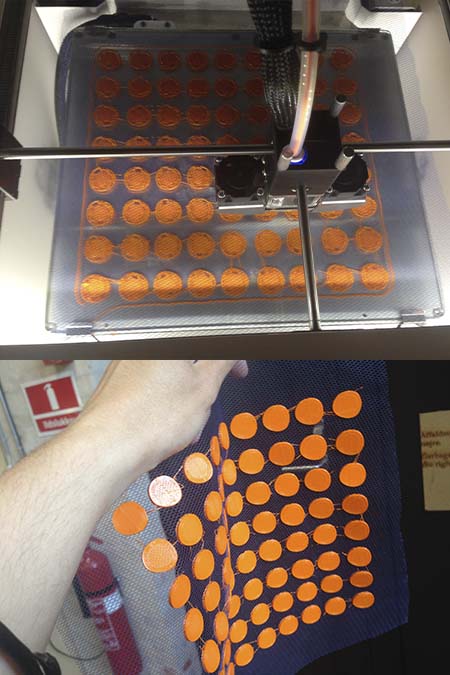
After a succesful second trial i decided to work with a very light fabric that has more or less the texture of a net. This way the pla will penetrate the fabric and the final result will be one body. Indeed after i had followed the procedure that was described in the previous step the outcome was a 3d printed fabric that can be used for various purposes. Since in my final project the smart textiles will interact with each other this one could be used as a touching pad (in combination with a touching sensor)or a button.
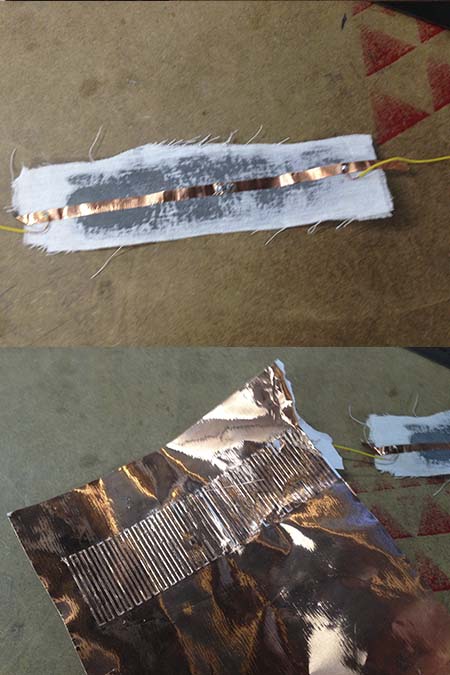
Felt and copper foil
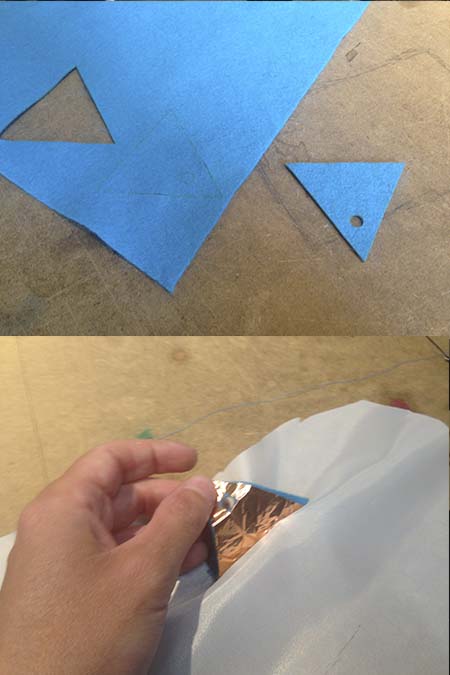
One of the materials that i always wanted to work with was the felt, and since only thick felt was laser cut in our lab it was a big challenge. I had to laser cut it without to destroy it or burn it. After two failed trials i came up with this cutting settings:width 0.15 mm, power 2,3 %, speed 24%, 500 ppi. I placed behinf the felt copper foil cause i wnated to make it ready to receive current. I cut the copper foil in the vinyl cutter with a knife of 5 degrees.
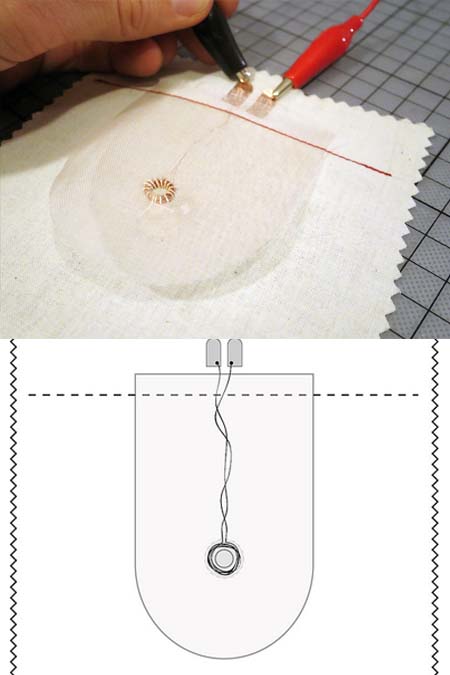
Electromagnetic movement 1
The purpose of the felt and the combination with the copper foil was the creation of a smart textile that will be consisted out of many parts that could move and bring air to an opaque second fabric below them. i decided the movement to happen with electromagnetic power and this could happed with a coper foil, coper tape, two cables, and coated copper wire. The inspiration was this tutorial and though they worked with a very light material i took the risk to work with a much thicker one like the felt.
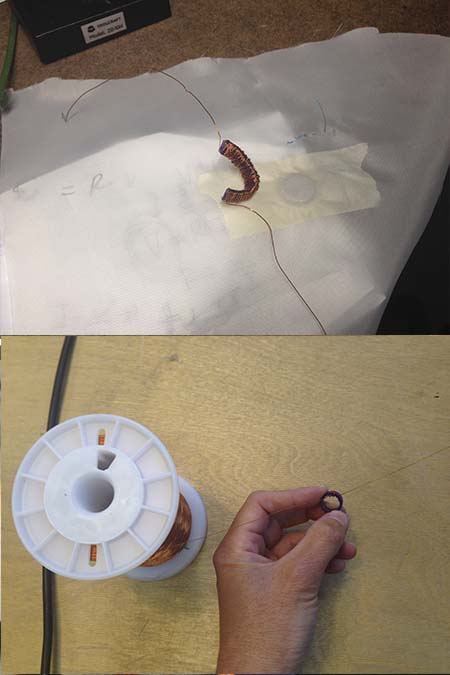
Electromagnetic movement 2
I first tool the decision to create the electromagnet my self. First i sewed the flet and the copper foil in the opaque fabric and after i created a pocket and i placed in the back of the opaque material. In the pocket i placed a small but strong magnet. Since an electromagnet behaves as a magnet only when electicity pass by i need to create a circuit that will cross my wire made magnet. I used a plastic ring and i wraped coated wire around. Unfortunatelly, the movement was very weak and in the end the wire was burned. I decided that for a thick material like felt a movemnt like this shoul occur in an other way, probably a mechanical one.
Photochromic fabric
One of the interactive fabrics that i would like to create for my final project is a photochromic fabric. I intend to screen print a pattern that will change color to high temperature. For this, i used photochromic paint that becomes white form balck in temperatures above 30 degrees. In order to achieve this result i tried to use copper foil and a 220 ohm resistor. The color changed but the resistor burned. I investigate now further what kind of resistor i should use and how many volts i should apply. I also tried to vinyl cut a copper foil in th shape of a resistor (in order to achieve high tenparature)but the vinly cutter was destroyed this delicate shape.

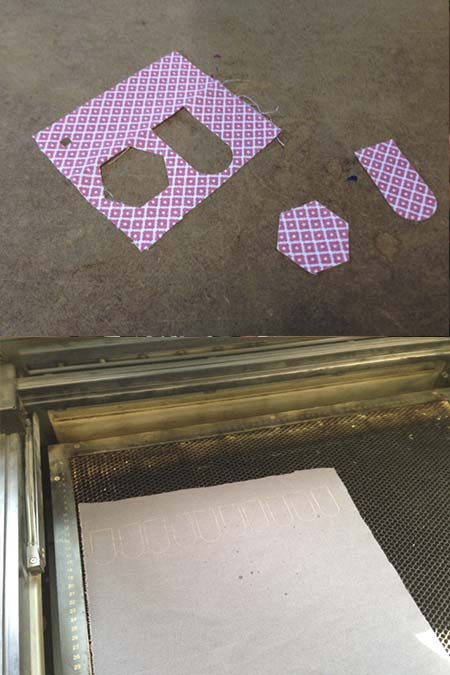
Press heater fabric teqnique
A mashine that i' ve never used in the fa lab was the press heater since i was always screen printing my textiles and stencils. The press heater is a mashine that i will use in my final my final project and the two succesful trials was a great idea. I vinyl cut my textile with the maximun knife (alost 12)and then i placed the cut textile in the heat presser. As soon as the tenperature rised on 160 c degrees i press the fabric for 10 seconds. I removed the protection sticker and my fabric was ready.Be careful, since different materials have different temparatures.
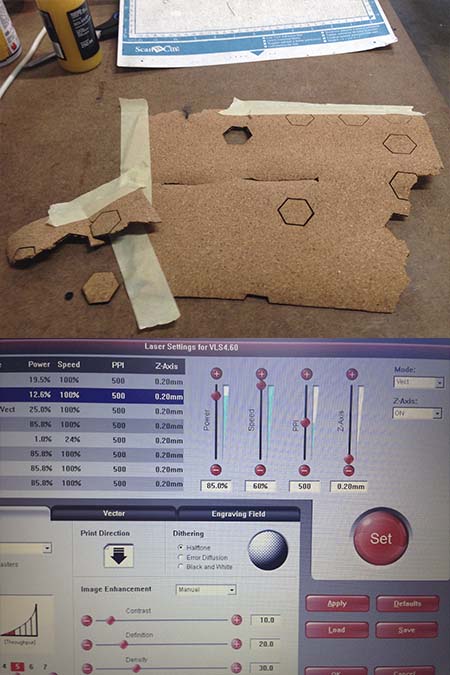
Cork
Since i also want to use cork as a fabric interactive material i decided to work on the right laser cutting settings. First of all the corl should be of good quality and secondly a lot of trials that gibe a balance of power and speed should take place. I realised that the range of speed and power should be pretty close since otherwise the cork starts to burn and melt. After a lot of trials i came up with the specific setting for cutting cork power 85%, speed 60% and ppi 500. It worked perfectly.
Choose and cut fabric for my final project
The purpose of this week was to experiment as much as possible with textiles made in fab lab with different techniques. In the end of this week i new how to laser cut almost any kind of fabric and how to use them for my final project.
Conclusions//
The conclusion of this week is that smart textiles combine a range of different teqniques and electronic knowledge. Fab lab's and digital fabrication is the ideal place to develop an idea like this.
Links//
Electromagnetic flapping,, Thermochromic fabric,, Heat press mashine, Ultimaker 3d printer Brother scan'n'cut mashine, How to 3d print on a textile,